Your kitchen is the heart of your home. It experiences the most use daily. That daily demand goes into overdrive during the holidays with cookie baking, holiday meal hosting, and overnight guests. Therefore, getting your kitchen clean again after the holiday season is a must. Start the new year off on the right foot by giving your kitchen a deep clean from the heavy use of the holidays. Hiring kitchen cleaning services can take this important task off of your plate. However, if this is not an option, this complete cleaning guide will help you get your kitchen clean again after the holidays.
Create a Cleaning Schedule
The holidays are a hectic time with busier schedules and increased demands on our attention. Therefore, it is easy to allow cleaning to fall on the priority list. When this happens, kitchen cleaning becomes an even bigger task as it went neglected for so long.
To avoid falling into this cycle, make a cleaning schedule. Plan to clean a little bit each day. This reduces the amount of time you need to clean each day by breaking up your kitchen cleaning into manageable tasks.
However, if you can't do this, you will want to have a plan that allows you to work your way through the kitchen strategically to minimize double work and maximize the effect of your efforts.
Remove the Countertop Clutter
Before you start deep cleaning, remove any clutter. Not only will this make your kitchen look more organized, but it will be easier to clean in later steps. This is also a good time to consider what small appliances you can put away. For example, the coffee maker and stand mixer could stay while the waffle maker, air fryer, and Insta Pot could get put away.
Inventory Your Pantry
After the holiday season, clear out your pantry and do an inventory of the food items you have. This organizes everything, making it easier to grab what you need while cooking quickly. It also allows you to see what you have so that you do not buy duplicates.
Throw away all expired and spoiled food items. The beginning of a new year is the perfect time to check labels and clear out the old food. Group like and similar items together. For example, group all baking items together or put pasta and sauce together. Vacuum the shelves to clean up crumbs and spilled food. Then wipe the shelves with warm soapy water and dry them with a microfiber cloth.
How to Clean the Fridge and Freezer
The outside of your fridge gets surprisingly dirty. Think about how often you open your fridge or freezer without washing your hands. This means that whatever is on your hands gets transferred to the handles. Use an all-purpose cleaner to wipe down the outside of your fridge and freezer, including the handles. If your fridge is stainless steel, use a cleaner that is safe for this surface, and always wipe in the direction of the grain.
Clean the Freezer
Once the outside is clean, it is time to move to the inside. Grab a cooler or two and empty the contents of your freezer into them. Wipe down the walls and shelves of your freezer with warm soapy water and a microfiber cloth. Use a clean, dry cloth to wipe up any water to prevent it from freezing and becoming icy. Reload the freezer as you organize the contents. Throw out spoiled or expired food items. Identify items that have been in the freezer the longest and are safe to eat. Put these up front so that you use them first.
Clean the Fridge
Moving to the inside of the fridge, start by emptying the entire contents into coolers. Remove the shelves and drawers so you can wash them with hot soapy water. Next, wipe the fridge's inside with a microfiber cloth and warm soapy water. Finish with a clean, dry cloth to dry the inside of the refrigerator. Replace the clean and dried shelves. When reloading, sort through the food and condiments. Throw out any expired food. Take note of your condiments so that you know what you may need to purchase. Make a plan to eat the oldest food first and put it towards the front of the fridge.
How to Clean Glass Top Stove
Do not use Windex or another traditional glass cleaner on your glass stove top. These are not appropriate for your stove and will cause streaking or staining. The best option is to use white distilled vinegar. If you regularly clean your stove, spray the vinegar on the stovetop and wipe it with a microfiber cloth. If you have stubborn cooked-on food, spray the vinegar and then sprinkle with baking soda. Next, lay a clean towel soaked in hot water over the stovetop and let sit for 10-15 minutes. This will make it easier to wipe up the mess with a microfiber cloth.
You may need to bring out the big guns, a razor blade, for genuinely stubborn cooked-on food from your holiday cooking activities. Hold the blade as flat as possible and gently scrape the stovetop surface. Avoid using the corners, as this can scratch the glass surface. A word of caution, a razor blade is not always suitable. Check with your stove manufacturer before use to ensure a razor blade is safe for your stovetop. Finish by wiping down the rest of the stove, including the controls and oven front.
How to Clean the Sink
When cleaning your kitchen sink, start with the upper edge, work your way down the sides, and finish at the bottom of the basin. This flushes the dirt and grime down as you clean, so you avoid doing double work. Use warm soapy water and a microfiber cloth to scrub the sink. Focus on grooves and crevices where grime can flourish.
Once the sink is clean, focus your efforts on the drain and garbage disposal if you have one. Pour a combination of rock salt and ice cubes into the garbage disposal. Turn on the water and disposal and let it run until the ice cubes are gone. This cleans the blades and flushes everything down the drain. Finish by sanitizing your drain. Mix a cup full of bleach in a gallon of cold water. Slowly pour it down the drain.
How to Clean the Coffee Maker
If you had houseguests or hosted events during the holiday season, your coffee maker probably experienced heavier use. This increased use will mean your coffee maker needs a cleaning sooner than your routine cleaning schedule. Start by wiping down the outside. Then follow the manufacturer's directions for cleaning the internal components. For example, Keurig sells a descaling formula that you use to flush the system and clean the internal components.
How to Clean the Microwave
Leftovers are a much-loved part of the holiday season. However, they also mean increased microwave use. Food splatters and pops as people heat up plates of leftover holiday delights. Before you tackle microwave cleaning, make the job easier on yourself. Put a bowl filled with a water and vinegar mixer into the microwave and let it run. It should create steam that will soften the stuck-on sauce and food bits. Then, you can easily wipe the inside clean with a microfiber cloth.
How to Clean the Dishwasher
The biggest issue with dishwashers is that people fail to clean the filter. They throw dirty dishes in, and the food bits get stuck in the filter, eventually clogging the drain. With guests helping clean up, more food than usual makes its way into the dishwasher. Pull the filter out and ensure it is clear. Use warm soapy water to clean the filter. If you need something stronger, you can use baking soda. Then look at the moving parts to ensure there are no food bits gumming them up. Let the dishwasher run a complete cycle while empty to remove hard water buildup and give the inside an overall clean. Add vinegar to remove hard water buildup. Check your owner's manual to ensure this is safe before doing so.
Once the inside is clean, close the door and wipe down the outside. Focus on the buttons, as these get the most use and can have grunge build-up from dirty hands touching them.
Give Everything a Wipe Down
Grease and food magically get on every surface while you are cooking. For example, your cabinets are a lot dirtier than you think. Use an all-purpose cleaner and a microfiber cloth to wipe down all of the surfaces. Start high and work your way down. Look in the upper corners of your kitchen and check for cobwebs. Knock them down with a broom if there are any.
Wipe down the upper wall cabinet door fronts. Pay attention to the hardware, as these are high-touch areas, and anywhere gunk and bacteria build up. Next, wipe down the countertops, working from the back to the front and from one end to the other.
Move to the lower cabinets, wiping the door fronts and hardware. Then move lower to wipe down the toe kicks and baseboards. A dryer sheet works well for this step. You could have an incredibly clean home and still find dust buildup on the baseboards.
Do not forget to wipe down the blinds and wash the curtains if you have a window in your kitchen.
Clean the Floor
Save floor cleaning for your final task. That way, you can sweep all the dust and crumbs onto the floor while cleaning the counters, appliances, and cabinets. You only have to clean the floor once and can get everything. Start by sweeping to collect the dust, food crumbs, and anything else that has fallen onto the floor. Keep the dust down by sweeping towards you, not away. Start in the far corners and work towards the center and front. Gather everything into a pile and use a dustpan to pick it up. Use smooth motions to avoid kicking dust and dirt into the air.
Next, mop the floor. Choose a mop that's suitable for your floor type. The wrong floor type will just push the dirt around instead of picking it up. A floor with texture will clean better with a traditional string mop. A smooth floor will clean best with a sponge or smooth mop. Mix the appropriate cleaning agent with warm water in a bucket that is at least five gallons. A bucket with a ringer that is on wheels will make mopping easier.
Start furthest in and work your way out. That way, you don't have to walk over the freshly mopped floor. Dip the mop in the water and ring it out, so it is damp. Work in an overlapping figure eight pattern. Rinse the mop often so you don't push the dirt around instead of removing it.
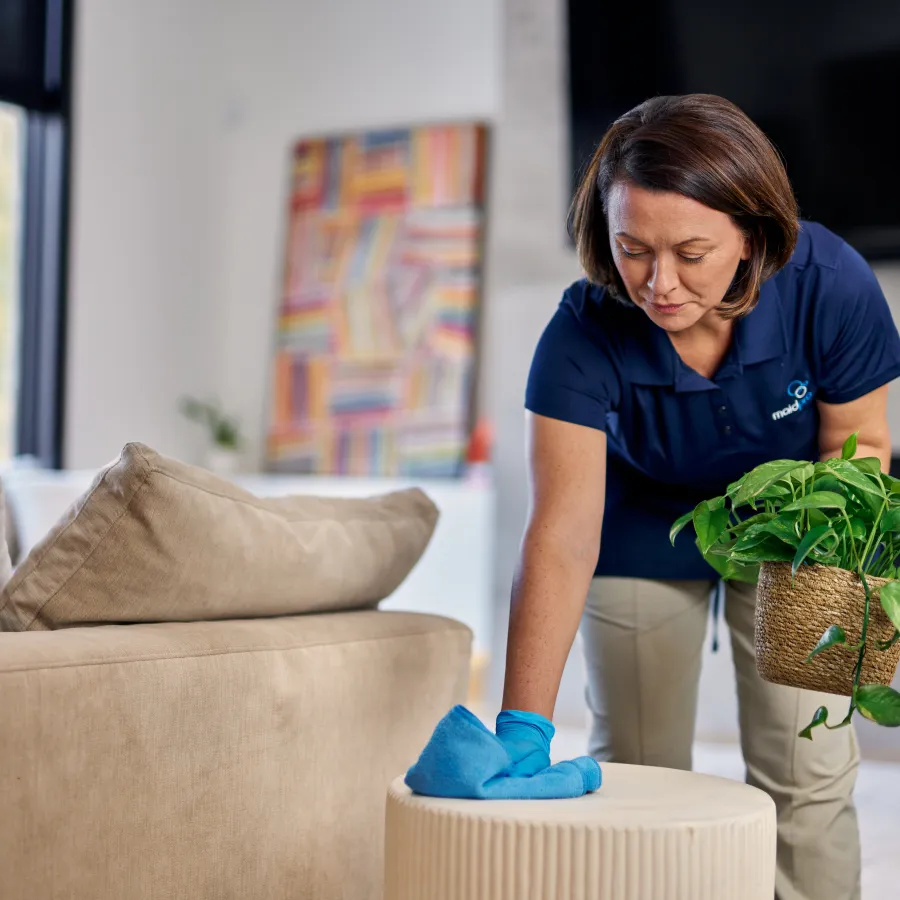
Add a Decorative Touch
Once your kitchen is clean and sparkling, you have one final step: adding a decorative touch. This elevates your kitchen from just clean. For example, you could add a vase with flowers or a low-maintenance plant. Perhaps you place an arrangement of produce in a bowl. Or, for something simple, a candle to give your kitchen a delicious scent. Warm vanilla, citrus, or herbal scents are all excellent choices.
Clean As You Cook
One cleaning tip to keep in mind is to consider cleaning as you cook. This helps to keep your kitchen cleaner. Your countertops will stay clean and clear, ready for your next project. Your utensils and flatware will be ready when you need them. In addition, cleaning right away makes cleaning messes easier. There is less time for spills to dry and become stuck on or sauces to sink in and become stubborn stains.
Turn to the Professionals For Help
Turning to cleaning professionals can make it easy to get your kitchen back in order. Simply make an appointment, and the experts from MaidPro will do your post-holiday kitchen cleaning for you. Our customizable cleaning services can be as extensive as you need to ensure your kitchen is sparkling from top to bottom.
Request an estimate today and get your kitchen back in order after the holiday season.